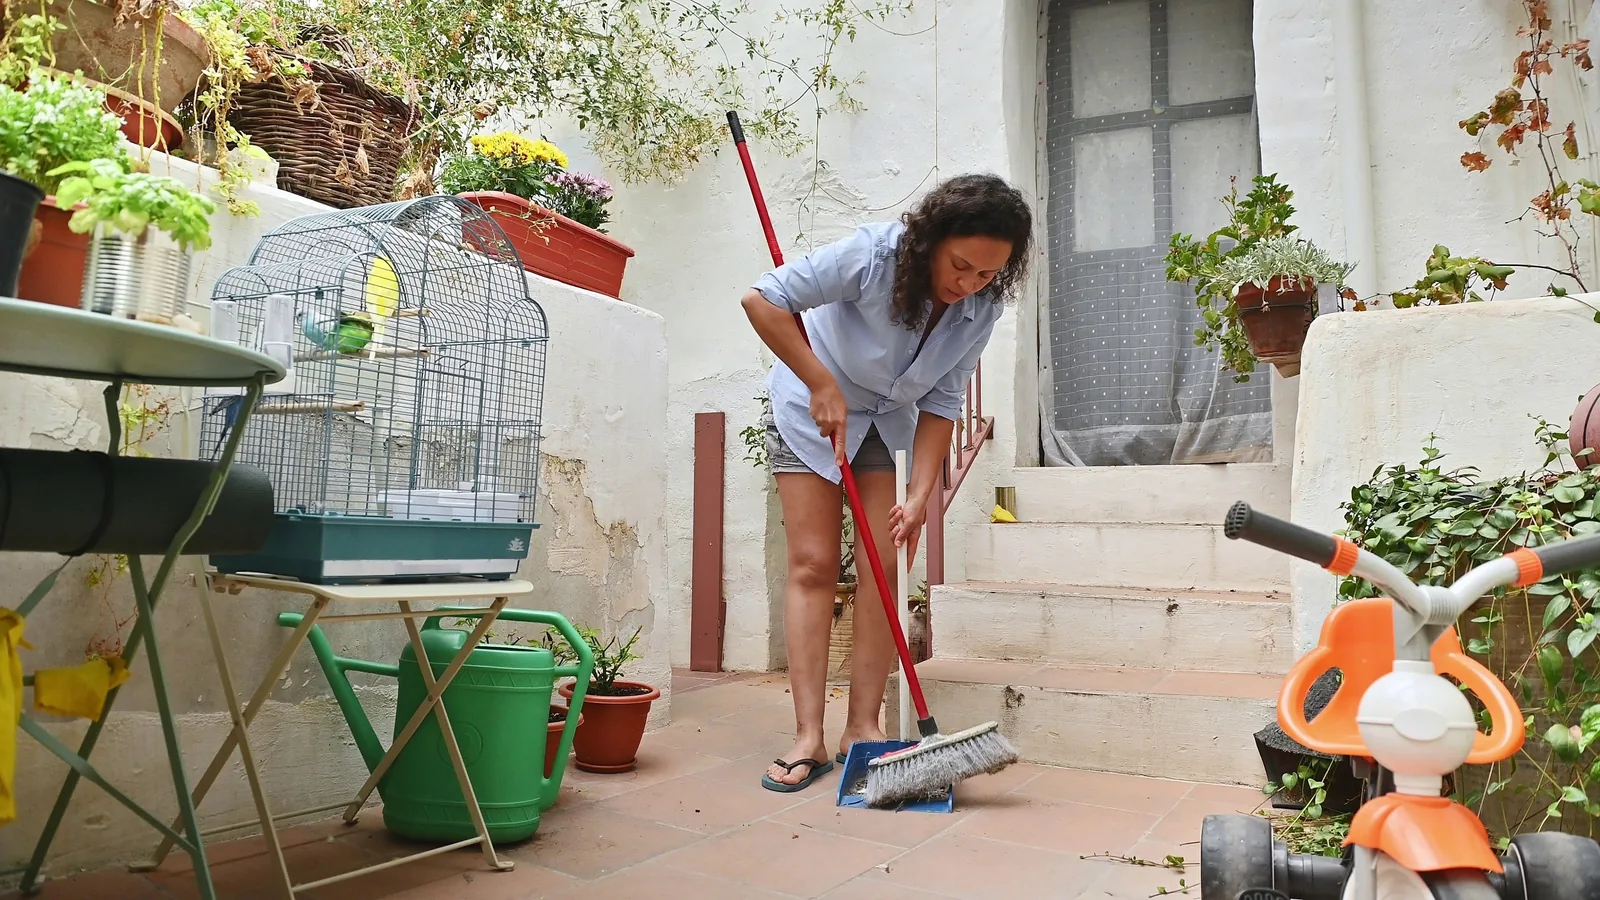
Patio Weekend Project
A practical step-by-step guide to patio weekend project, including preparation, instructions, common issues, tips, and next steps.
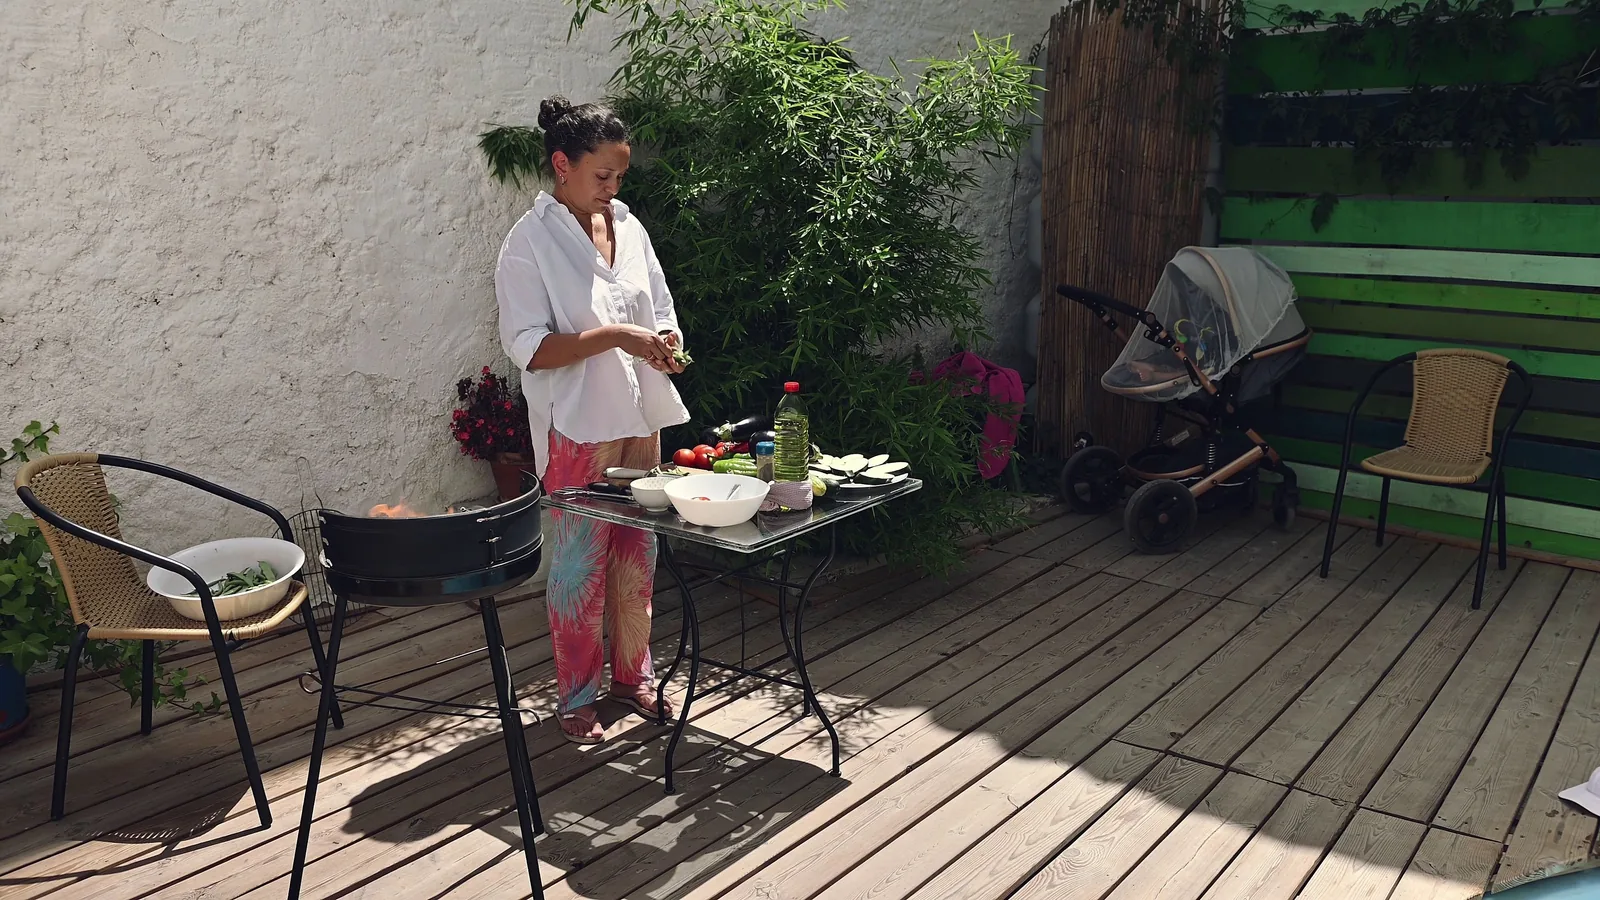
Patio Weekend Project
This weekend project helps you transform a plain concrete slab or tired wooden deck into a welcoming outdoor living space. You will learn how to plan the layout, choose durable materials, prepare the base, lay pavers or tiles, add comfortable seating and lighting, and finish with decorative touches. The guide is structured so you can complete the entire project in two days, working at a comfortable pace. It covers everything from cleaning and leveling the surface to cutting materials safely and preventing weeds. By the end of the weekend, you will have a functional and attractive patio that you can enjoy for years. The steps are ordered logically, and each one includes a practical check to keep you on track. You will also find troubleshooting advice for common problems and tips for more advanced enhancements like hidden drainage and permeable joints.
Fast Answer
- First, measure your patio area and decide on a simple layout, like a rectangle or L-shape, that fits your space and furniture needs.
- Then, clear the area, fix any cracks, lay a weed barrier, and install your chosen surface material (pavers, tiles, or outdoor rug) with proper edging.
Before You Start
- Measure the patio dimensions with a tape measure and sketch a rough layout on paper, noting where you want seating, planters, and a grill.
- Choose your surface material: concrete pavers, porcelain tiles, or a large outdoor rug. Ensure it is rated for outdoor use and slip-resistant.
- Gather tools: rubber mallet, level, shovel, wheelbarrow, plate compactor (or hand tamper), and safety gear like gloves and safety glasses.
- Order or buy a few extra pavers or tiles (about 10% more) to account for cuts and breakage, and pick up polymeric sand or jointing compound.
Step-by-Step Instructions
Measure and Mark the Patio Area
Start by measuring the entire area where you plan to build the patio. Use a long tape measure and record the length and width in feet and inches. Decide on a final shape, such as a rectangle, square, or L-shape, that fits your yard and furniture. Use spray paint or stakes and string to outline the area on the ground. Check that the corners are square by measuring diagonals; they should be equal for a rectangle. Walk around the outline to confirm there is enough room for walking and chairs. If you plan to have a grill, allow a safe clearance from walls and overhangs. This step saves you from buying too much material and ensures your patio fits the intended space. After marking, stand back and adjust the shape if it looks awkward or too small for your needs.
Clear the Site and Dig Out the Base
Remove all grass, weeds, roots, and debris inside the marked area. Use a flat shovel to strip the sod, cutting about 4 inches deep. If the area is large, a sod cutter can save time, but a shovel works fine for a weekend project. Dig out the soil to a depth of about 6 to 8 inches, depending on your climate and the thickness of your pavers. The base needs to be stable and frost-proof, so check your local building department for the recommended depth. As you dig, set the excavated soil aside on a tarp for easy cleanup. Check that the bottom of the excavation is level by using a long level or a straight board. Slope the base slightly away from your house, about 1 inch for every 8 feet, to direct water runoff. Smooth the bottom with a rake and compact it with a hand tamper to create a solid foundation.
Add and Compact a Gravel Base
Fill the excavated area with crushed stone or gravel, about 4 to 6 inches deep. Use gravel that is angular, like 3/4-inch crushed limestone, because it locks together better than round pebbles. Spread the gravel evenly with a rake, then use a plate compactor to vibrate it down. Compact in small sections, overlapping each pass by a few inches. After compacting, check the level again; the surface should be flat and the slope still present. Add more gravel if needed to reach the desired height, leaving enough room for the sand or stone dust layer. This base layer spreads the weight of the patio and prevents frost heave. It also helps water drain away, so your pavers will not settle or shift. Do not skip this step, as a weak base is the most common cause of a wobbly patio.
Lay the Sand Bed and Level It
On top of the compacted gravel, add a 1-inch layer of coarse sand or stone dust. This layer provides a smooth cushion for the pavers and allows final leveling. Use a straight board, like a 2x4, to screed the sand flat, pulling it along two parallel pipes that you set to the correct height. Check the level with a long spirit level, ensuring the sand is sloped slightly for drainage. The sand should be even and firm, so do not walk on it after screeding. Use a hand tamper to gently compact the sand, but avoid over-compacting that would leave footprints. If you notice low spots, add more sand and screed again. This step is critical because any bump or low point will show in the finished patio. Take your time to get a perfectly flat and even surface before laying any pavers.
Install the Pavers or Tiles
Start laying your pavers or tiles from a straight edge, like the house or a string line. Work in a grid pattern, setting each piece gently into the sand. Use a rubber mallet to tap each paver down until it is flush with the level. Leave a consistent small gap between pavers, usually 1/8 to 1/4 inch, depending on your material. As you work, check for level after every few pavers, and adjust with extra sand under a piece if needed. For cutting pavers to fit edges, use a wet saw or an angle grinder with a diamond blade, always wearing safety glasses and ear protection. If a paver is too high, tap it down; if too low, lift it and add sand. Continue until the whole area is covered, then step back to check that the pattern looks even and lines are straight.
Finish with Edging and Joint Sand
Brush a fine, dry sand or polymeric sand into the gaps between the pavers, sweeping it back and forth until the joints are full. Polymeric sand hardens when wet, which prevents weeds and ants. After filling, use a plate compactor to vibrate the surface, then add more sand to refill any empty joints. Once the joints are full, install edging restraints, like plastic or metal strips, along the perimeter to keep the pavers from shifting. Use stakes or concrete nails to secure the edging. Finally, lightly mist the patio with water to activate the polymeric sand (if used), then let it set for a full day. This step secures your work and gives the patio a professional, long-lasting finish. Clean up any excess sand and enjoy your new patio.
Quick Reference
| Situation | Action | Why it helps |
|---|---|---|
| You notice a paver is higher than its neighbors after installation. | Tap it down with the rubber mallet; if it does not sink, lift it and remove sand from underneath, then set it again and check level. | A raised paver creates a tripping hazard and may crack under heavy furniture, so leveling it immediately avoids future damage. |
| Water pools on the patio after a rainstorm. | Check the slope; if it is flat or sloped toward the house, you need to correct the base by adding more sand under the low spot or re-screeding the entire area. | Standing water can seep into the base, weaken it, and lead to frost heave or mold, so proper drainage is essential for longevity. |
| Weeds start growing between the pavers within a few weeks. | Remove the weeds by hand or with a herbicide, then re-sweep polymeric sand into the gaps and mist lightly to reactivate the seal. | Polymeric sand blocks weed seeds and ants, so replenishing it restores the protective barrier that keeps joints tidy. |
Common Issues
- Pavers sink in one spot after a few months.: Lift the affected pavers, dig out the sand and gravel, compact the base again, add fresh gravel if needed, and re-level before replacing the pavers.
- The patio surface becomes slippery when wet.: Clean off any algae or moss with a pressure washer or a mild bleach solution, and consider applying a non-slip sealer made for outdoor floors.
- Grass or weeds push through the sand joints.: Pull them out, then apply a pre-emergent weed killer specifically for paved areas and re-fill the joints with fresh polymeric sand.
Advanced Tips
- Incorporate a drainage channel beneath the base to redirect subsurface water away from the patio, especially if you live in a rainy climate.
- Use a permeable paver system with open joints or grass pavers to reduce runoff and create a more eco-friendly surface that absorbs rain.
- Install a low-voltage LED lighting system along the edges or recessed into the pavers to extend the patio's usability into the evening hours.
Final Checklist
- Ensure the patio has a slight slope (about 1 inch per 8 feet) away from your house to prevent water damage.
- Check that all pavers are level and firmly set, with no rocking or unevenness.
- Fill all joints with sand properly tightened, and apply a sealer if recommended for your material.
- Confirm that any edging is secure and that the area is clean of debris and excess sand.
FAQ
How deep do I need to dig for a paver patio?
The total depth depends on your soil and climate, but a typical patio needs about 6–8 inches: 4–6 inches of gravel base, 1 inch of sand, and the paver thickness. In cold regions, dig deeper to go below the frost line, which may be 12 inches or more. Check your local building code or ask a professional for the recommended depth in your area.
Can I install a patio directly on grass?
It is not recommended because grass will die and decompose, causing the surface to sink and become uneven. Always remove the grass and dig out the area to create a stable base. You can put a temporary outdoor rug on grass for a day, but a permanent patio needs proper preparation.
What maintenance does a paver patio need?
Sweep regularly to remove dirt and debris. Check joints and refill with sand if they are low. Apply a sealer every 2–3 years to protect the color and resist stains. Remove weeds promptly, and clean spills quickly to prevent stains. With proper care, a paver patio can last decades.