Patio Planting Guide
A practical step-by-step guide to patio planting guide, including preparation, instructions, common issues, tips, and next steps.
Patio Planting Guide
Transform a bare patio into a thriving container garden with this step-by-step guide. Learn how to assess your space, choose containers that drain well, prepare a quality potting mix, select plants suited to your sunlight, arrange them for visual balance, and maintain them with smart watering and feeding. The guide covers practical checks, common pitfalls, and quick fixes so you can grow herbs, vegetables, or ornamentals with confidence, even if you are new to gardening.
Fast Answer
- Place your containers to match the sunlight your plants need: measure how many hours of direct sun your patio gets in summer, then pick plants labeled for full sun, partial shade, or full shade.
- Use containers with drainage holes and a high-quality potting mix, not garden soil. Water deeply when the top inch of soil feels dry, and feed with a balanced fertilizer every few weeks during the growing season.
Before You Start
- Pick a spot for your patio planters that you can see daily, and check how much direct sun it receives. Most vegetables and flowering plants need at least 6 hours, while shade lovers need less.
- Choose containers with at least one drainage hole in the bottom. Measure the diameter and depth to ensure they hold enough soil for mature root growth, and match the pot size to each plant's needs.
- Buy a bag of premium potting mix labeled for containers. Avoid garden soil because it compacts and may not drain well in pots. If you want extra moisture retention, get some coconut coir or perlite to mix in.
- Gather basic tools: a small trowel, watering can or hose with a gentle spray nozzle, slow-release fertilizer, and plant labels. Also have a saucer or tray to protect the patio surface from water runoff.
Step-by-Step Instructions
Observe and Measure Sunlight
Start by tracking how much direct sunlight your patio receives. On a clear summer day, every hour check if the sun is hitting your chosen spot. Make a simple chart on paper: list the hours from 8 a.m. to 6 p.m. and note each hour as 'full sun', 'partial', or 'shade'. Full sun means at least 6 hours of direct sunlight, partial means 3 to 6 hours, and shade means less than 3 hours. This measurement is critical because most fruiting plants like tomatoes require full sun, while leafy greens and ferns tolerate shade. If your patio only gets morning sun, avoid plants labeled 'full sun'. Write down your result so you can take it to the nursery. This check prevents the common mistake of choosing plants that will struggle in your specific environment. Even if your patio is heavily shaded, you can still grow a lush collection of shade-loving foliage plants.
Select Pots with Proper Drainage
Visit a garden center and choose containers that have at least one drainage hole at the bottom. If a pot lacks holes, you can drill them yourself unless the material is glass or thin ceramic that may crack. For most plants, pick a pot that is at least 12 inches deep for roots to grow. Remember that larger pots hold more soil, which means they dry out slower and give roots more room. But a huge pot for a tiny plant may lead to waterlogged soil, so match pot size to the plant's mature size. Read the plant tag: it often states a recommended pot diameter. For example, a single tomato plant needs a 5-gallon container, while a small herb can thrive in an 8-inch pot. Check that your pots have a tray or saucer to catch excess water, but make sure the tray does not keep standing water against the pot base for long, or roots may rot. This step ensures your plants won't drown and that you can move the pots easily if needed.
Prepare a Quality Potting Mix
Fill your chosen containers with a premium potting mix, not garden soil. A good mix is fluffy and light, containing ingredients like peat moss or coconut coir, perlite, and compost. Before filling, cover the drainage hole with a piece of coffee filter or a small piece of window screen to prevent soil from washing out, but do not add gravel at the bottom because that actually reduces drainage. Fill each pot to about one inch below the rim, then wet the mix with water until it is evenly moist and water runs out of the drainage hole. Let the pot drain for a few minutes. Mix in a slow-release fertilizer according to the package instructions, following the recommended amount for container size. This preparation gives your plants a healthy, well-aerated root environment. The fluffy texture allows air to reach roots and lets excess water escape, preventing the suffocation and rot that often occur with dense soil.
Choose Plants for Your Conditions
Read plant tags at the nursery carefully. Look for the light requirement (full sun, partial shade, or shade) and match it to your sun measurement from step one. Also consider your climate: check if the plant is hardy in your growing zone (USDA hardiness zone) if it will stay outside year-round, or treat it as an annual if you are unsure. For beginners, easy options include herbs like basil, mint, or rosemary; leafy greens like lettuce or spinach; and flowers like marigolds or petunias. If you want vegetables, choose compact varieties labeled 'patio' or 'bush' that are bred for containers. Inspect the plant's leaves for signs of pests or yellowing, and avoid plants with wilted stems. When you get home, water each plant before transplanting. Choose plants that have similar water and light needs so you can group them in the same pot or watering schedule. This step prevents the disappointment of buying plants that will not thrive in your patio's specific conditions.
Arrange Pots for Access and Growth
Place your containers where they receive the sunlight they need as measured in step one. If you have multiple pots, group them together to make watering easier and to create a microclimate that retains humidity. Put tall plants like tomatoes at the back (north side) so they do not shade shorter plants. Leave a gap of at least an inch between pot rims so air can circulate and you can reach between them. Consider using a plant stand or rolling casters on heavy pots for easy movement. If your patio has railing, you can hang small planters from hooks, but ensure they are secure and not too heavy. Step back and look at your arrangement from inside your home: you want a pleasing view. This layout maximizes sunlight exposure for each plant and makes daily care convenient. A good arrangement also reduces the risk of pest infestations because plants have enough air around them to stay dry.
Water and Feed on a Schedule
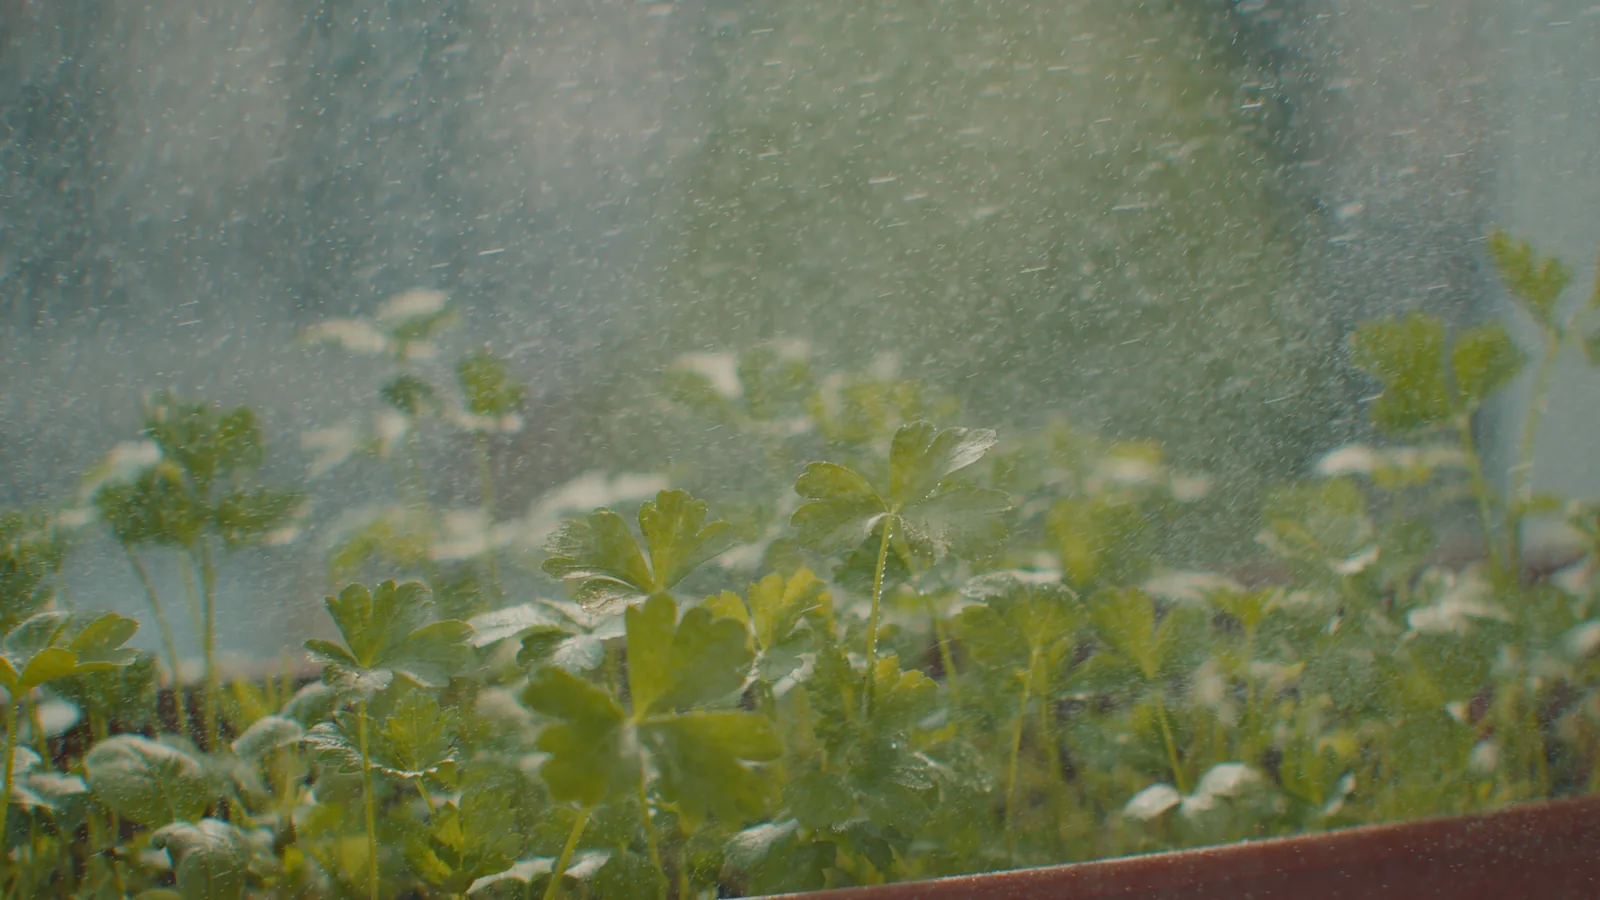
After planting, water each container thoroughly until water runs out the bottom, which settles the soil around the roots. Then check moisture daily by sticking your finger into the top inch of soil. If it feels dry, add water slowly until you see a little runout. In hot weather, you may need to water once a day or even twice for small pots. Avoid letting pots sit in a saucer full of water for more than a few hours, because that can cause root rot. Begin feeding your plants two to four weeks after planting, using a water-soluble fertilizer diluted to half strength, once every two to three weeks. Always water the soil first before applying fertilizer, and never apply to dry soil. This routine keeps the soil consistently moist and supplies essential nutrients. This check prevents under or overwatering, which are the top causes of container plant failure, and ensures your plants grow steadily.
Quick Reference
| Situation | Action | Why it helps |
|---|---|---|
| Your plant's leaves are turning yellow and the soil feels constantly wet. | Stop watering for a few days, let the pot dry out, and check if the drainage hole is plugged. If it is, unclog it and consider repotting with fresh mix. | Yellow leaves with wet soil usually indicate root rot from overwatering. Fixing drainage and allowing the soil to dry helps roots recover. |
| The plants get less direct sunlight than the tag recommends, such as 4 hours instead of 6. | Choose plants labeled with a lower sun requirement, like leafy greens or herbs, or move the pot to a sunnier spot. If moving is not possible, replace sun-loving plants with shade-tolerant ones. | Sun-loving plants will grow weak and leggy when they do not receive enough light, so adapting your selection to actual light conditions is key to healthy growth. |
| Whiteflies or aphids appear on the undersides of leaves and leaves look sticky. | Isolate the affected plant, spray the leaves with a strong jet of water to dislodge pests, and then apply an insecticidal soap labeled for houseplants, following package instructions. | Acting quickly prevents pests from spreading to neighboring plants, and insecticidal soap kills these soft-bodied insects without harming the plant when used correctly. |
Common Issues
- Plants wilt despite regular watering and the soil is soggy.: Check that the drainage hole is not blocked and that the pot has enough space. If roots are circling the bottom, repot into a larger container with fresh, well-draining mix, and prune away any blackened roots.
- The plant becomes leggy with tall, thin stems and few leaves.: This is often a sign of too little light. Gradually move the plant to a brighter location that still suits its sun tolerance, and pinch back the stem tips to encourage bushier growth.
- Leaves have brown, crispy edges and the soil pulls away from the pot sides.: This usually means the plant is underwatered. Submerge the pot in a bucket of water until bubbles stop rising, then let it drain. Going forward, water more frequently or consider a self-watering pot.
Advanced Tips
- Use self-watering containers with a reservoir at the bottom to maintain consistent moisture during hot weeks; they are especially helpful for herbs and vegetables that dry out quickly.
- Implement a 'soak and dry' cycle for drought-tolerant plants like succulents: water thoroughly only when the top 2 inches of soil are completely dry, which mimics their natural arid conditions.
- Repurpose a plastic milk jug as a simple drip irrigator: poke tiny holes in the cap, bury it neck-down in a large pot, and fill as needed to slow-release water to the roots.
Final Checklist
- I measured my patio's direct sunlight hours and wrote them down so I can match plants to my conditions.
- I selected containers with drainage holes and prepared a premium potting mix that is moist and light.
- I chose plants that fit my sun levels and pot size, and I read their tags for water and spacing needs.
- I have a watering and feeding schedule set, and I know to check the top inch of soil daily for dryness.
FAQ
How often should I water my patio containers?
There is no single schedule because it depends on plant type, pot size, weather, and season. The best rule is to poke your finger one inch into the soil; if it feels dry, water slowly until water drains from the bottom. In hot, windy weather you might water daily, while in cool, cloudy days you may water only every two or three days.
Can I use garden soil in my patio planters?
No, garden soil is too dense and may contain weed seeds and pathogens. It compacts in containers, reducing oxygen for roots and making drainage poor. Use a premium potting mix, which is formulated to be light, well-draining, and safe for container plants.
What should I do if my plants develop yellow leaves?
First, check the soil moisture. Overwatering often causes yellow leaves with soggy soil, so let the pot dry out and ensure drainage. If the soil is dry, underwatering may be the issue, so water thoroughly. Also check for pests and ensure the plant is getting enough light. If a lower leaf yellows and the rest look healthy, it may be natural aging.